My friend Dana introduced me to this neat idea of a bullet journal. The best description I can quickly come up with is that it's like a planner on steroids (which is exactly what I told Liz, who thinks she'd benefit from a bullet journal too). I have, and love, a regular planner, but it's mostly just appointments. I don't put all the little things in there, like moisturizing or making the bed or exercising. I don't track my books in my planner. I don't write down how much money I spend in my planner. The bullet journal though? It is promising. I thrive from checklists (I think it's a mix of my personality and the fact that I'm depressed - checking things off is the best), and the bullet journal is allllll checklists, baby. So I made one. I invested (lol $7, holla big moneyyy) in a journal yesterday. I picked one with a train because I love trains and it reminds me of The Hogwarts Express. And today I got it started.
See what I mean? It's got everything. I adore checking little things off, even if it's something like brushing teeth or showering (1. the more you check, the more momentum you get, the more productive you become and 2. sometimes depression means you straight up don't care about self-health and self-care, so even things like "put on makeup" and "lather your body with soap" are good to write down). Sometimes I can get to feeling a bit inadequate - I start thinking about "all those people" who don't need check lists or planners or journals to function. But I gotta ditch that mentality. These are things that work for me.
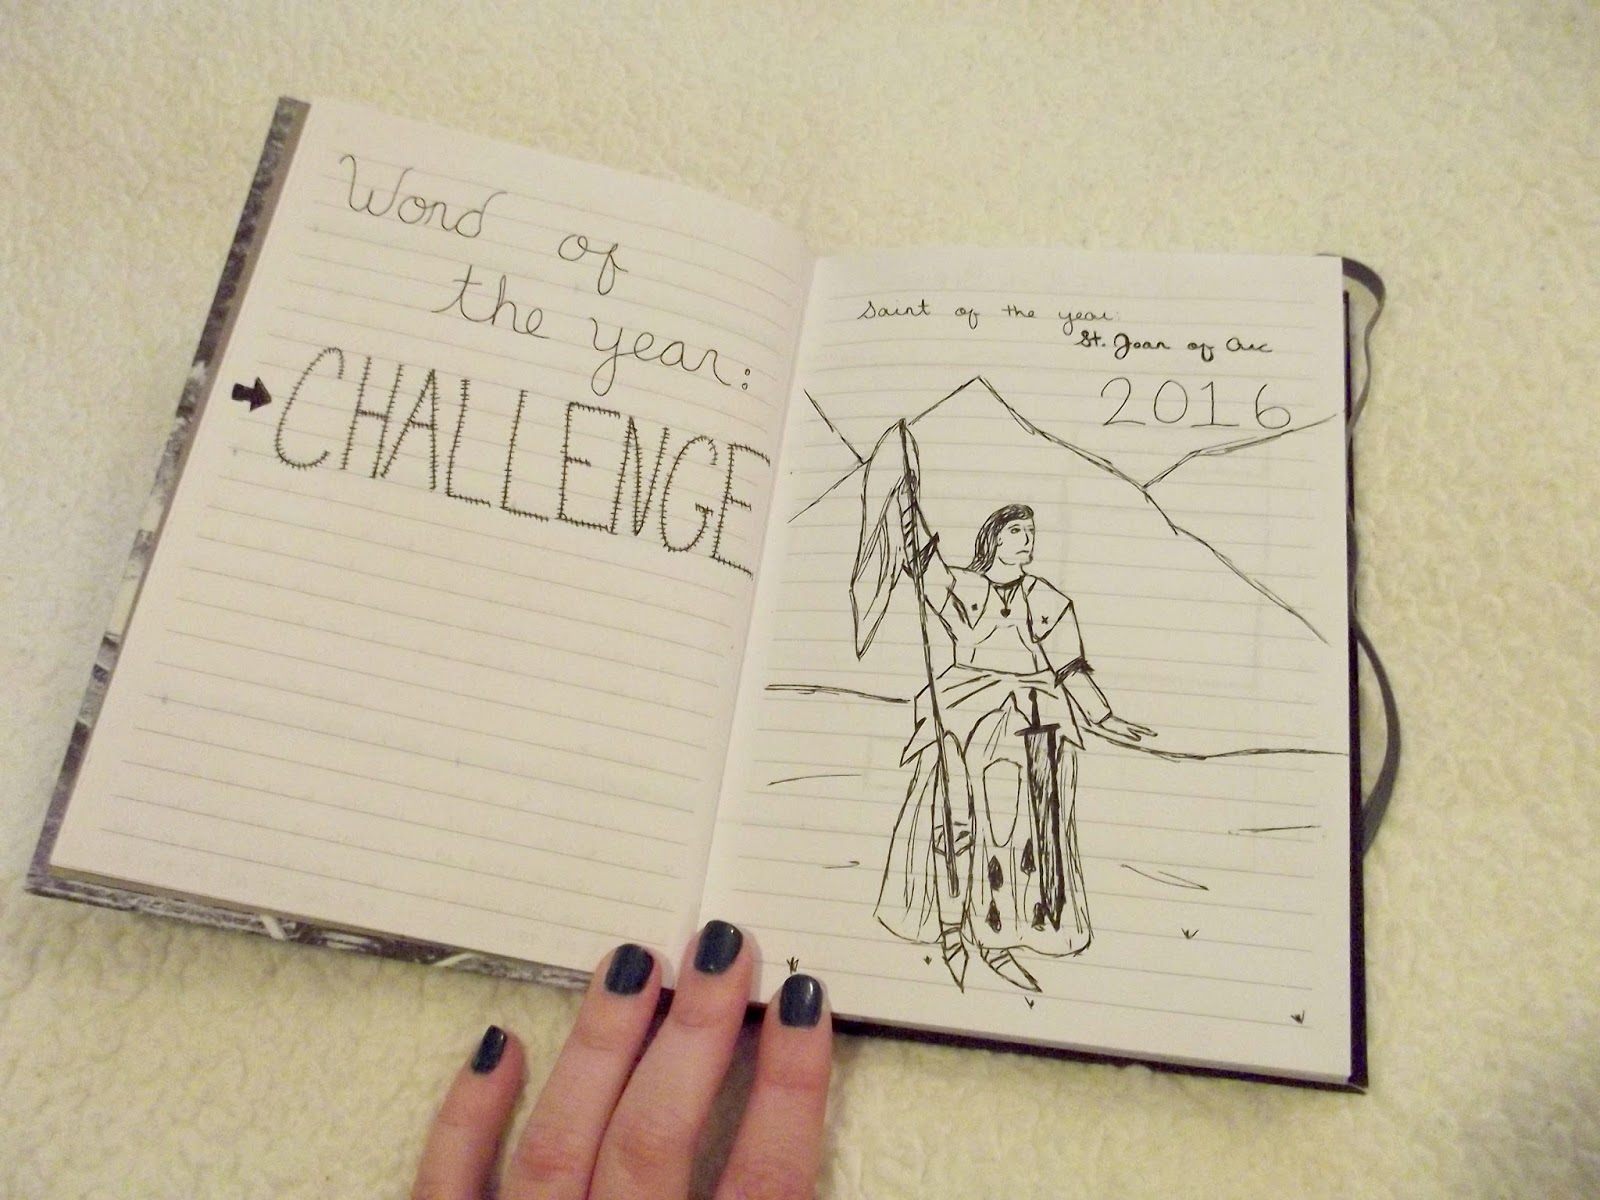
My bullet journal isn't very pretty. I opted to just start it now even though all I've got is a pen and a few highlighters. I considered waiting until Sunday, after this snowstorm clears up, so I could go get colored pencils. But... I figure I can make it pretty later. I've got a lot of goals for 2016, not to mention a whole host of life and lifestyle changes I want to make, and I'm betting this journal can help me out.
Here's to achieving goals and forming good habits!
My little cousin finally read the Harry Potter series this year! So exciting! Everyone ought to read HP. (No pressure, Liz.*)
Anyway! She asked for the series for Christmas, and while I'm in no position to drop $70, I did get her the first book and my grandparents got her the second one. Her birthday is just a couple of weeks after Christmas, so she's well on her way. I also thought she'd like something similar to the shirt in this pin that I see all the time, so I grabbed a grey (gray?) t-shirt and got to work. While *I* would prefer the original sweatshirt, she's almost 16 and sort of into a..... different look than I am. I know she makes and wears shirts with fabric paint, so I figured it'd be a safe bet to use that. It's just a shirt for futzing around.
At first I wasn't sure if I wanted it to be a Harry Potter-specific shirt, so I decided on a subtle nod via lightning bolt. ;)
Then stuff got cray cray and I got real tired real quick of cutting strips into the back of the shirt and tying them with the proper corresponding strips. UGH UGH UGH. I kept silently reminding myself that patience is a virtue because while this:
is by no means difficult, it is very annoying after the first five knots.
I think the look of the shirt is kinda cool, though I'd make a few changes if it was for myself. I'd either cut the excess strips down really close to the knots to lose some of the fringe look or I'd just not cut the shirt in half in the first place, making the knots unnecessary. (As in, I'd fold that part of the shirt and just make slices, so there'd still be a semi-open back like that, minus the knots and extra strips. If that makes sense? It's what I did on the sleeves, which you can see in that nifty collage when you scroll down.) The process I used brought the shirt down a size or two, another thing that wouldn't be an issue if the knots weren't used. Bringing the shirt in with those knots meant it pulled at the collar big time. Not comfy! I tried it on myself to get a feel for it a million times to make sure it still felt, looked, and functioned as a shirt. I ended up cutting the collar off completely. If it were mine, I'd make the neckline plunge a little, but she's 15. She's also a tad... smaller on top than I am, so I wasn't going to take risks with that.
I actually specialize in taking pictures of myself. Also I would have picked a different background if I knew I'd blog this, sigh.
Over all, I really dig this shirt. I think she'll like it when she sees it. I think I'm going to make one for myself and stick to just cutting slits in the back instead of tying the knots because I usually prefer clean cut stuff. I may or may not be thinking of a million shirts to make - plain t-shirt with slits in the back! Plain long sleeve semi-fitted shirt with slits in the back! T-shirt with "The Book Was Better" in varsity iron on letters with slits in the back!
Generally, I don't feel a real need to have a bunch of material things. Don't get me wrong, I can't wait to have a nice house or apartment with good furniture and nice decor etc. But for the most part, I don't feel a special attachment to most of my things.
The exception: books.
I have so many books. I'd guess that I have between 200 and 300 physical books, then probably around 30 electronic and 10-ish pdf. I'd call it a problem except it's not because books are the second best thing, right after good French onion soup (preferably from a bar). Today I'm going to focus just on the physical books and specifically...........
Building a home library.
I don't mean building literal bookshelves quite yet (one day!) but you need to build a collection of books if you want a library one day, yes?
But first, here are a few of my favorite home libraries I've found while perusing Pinterest. I like to think of them as inspiration (or....pinspiration).
The "Fun to Look at but Never Gonna Happen" libraries:
Okay, okay - I know that's not a library (it IS a pantry from heaven), but this kind of shelving is generally affordable, and can easily be installed on a wall in a rental.
My Absolute Favorite Home Library Sources of Inspiration:
Before you build walls of shelves, you need to have some books (presumably... I guess you can start with bare shelves but that might look weird.. plus it takes years to build a collection of books). Obviously, the cost of achieving this can be high, but there are ways around that in case money is tight.
When I had my full time job I also worked a part time job so I usually had a little extra cash. Which meant I was going to Barnes and Noble all the time. Liz (who also wants a library) and I used to meet up at the mall, eat Nathans or Chinese in the food court, and go to B&N probably once a week. It was lovely. Since I had the money, I let myself by a book (or a couple) every paycheck.
I make fewer trips now that the job situation is so... sad. But! The good thing is that I became an expert at B&N shopping. Now that money is tight verging on non-existent, if I do go to Barnes, I know what to look at and I know which sales to go for. They frequently have the "buy 2 get the 3rd free" sale (and some stores always have that sale). If there's a new book I want to read, I know how long to wait for it to go to the "Previous Best Sellers" rack, where it's usually half the price it was when it first came out. And of course, I always take advantage of the classics. Borders used to have excellent prices on classics as well. At Barnes, they're between $4.95 and $8.95 and they often have sales that pertain only to their classics (a few months ago I got six classics for the price of three).
Like I said, though, the B&N trips are fewer now and I don't often like buying brand new books when I have so little money. Bills come first.
HAPPILY, there are other ways to fatten the book collection when ya ass is broke. Here are some of my pro-tips. (lol yeah bc I'm a pro.)
Pro-tip 1: Buy from thrift stores
I live in NC with family now, and my aunt and grandparents really enjoy going to thrift stores (I do too, but it's slightly depressing to look at furniture/home decor when I no longer have an apartment). Some of the fancier thrift stores have books, but they're often overpriced and I won't bother. But others hold treasure -
You'll find old books, new books, and probably everything in between. My rule is to stick to what I think I'll actually like to read or reference. A couple of weeks back I got a few books originally part of a set called "Building America" for something like $2. While I'll never sit down and read those books front to back, I know I'm interested in parts of them. One includes aviation history in America and I've already looked at that part of the book several times. The other discusses labor history in America - another topic I know I'm interested in.
Sometimes, stores don't feel like pricing each individual book, so they'll throw some string around a set and sell it for half of what they'd get if each book was sold separately. That was the case with this set for $3.50:
On Amazon, Little Britches isn't sold used for less than $6.00 and that's just one book - this set comes with all eight of Ralph Moody's autobiographies.
It can be really, really easy to build your book collection if you look at thrift stores and garage sales. $10 or even $5 can get you a slew of books. Like I said, the rule I've set for myself is that to buy it, I need to know the book is going to be used. If I didn't follow this rule, I'd have a ton of books sitting on the shelf for no reason. It's true that when I have a library the shelves will need to be filled, but I consider it wasteful if the books will never be picked up. It might only cost me a quarter for a used book, but if money is tight I don't need to be wasting even a penny on something I won't use.
That said, sometimes I buy books knowing that they'll be used, but maybe not by me.
I actually do love looking at illustrated books just for the art, but it's not often that I pick up a children's book to read for fun. But a physical home library is likely 6+ years away, and I think that books like these will be used. Even if I don't have kids at that point, I've got seven younger siblings. The youngest is six. I also have friends with kids. For me, the ultimate goal of having a library isn't just for me to get joy from it, it's for every person who comes into my home to enjoy. I've got books on fairies, elves, world art, Africa, and so many other things because I know that they'll be enjoyed by some of my friends. (Not that I don't also love reading about elves!)
Pro-tip 2: Take advantage of seasonal sales
I visited a Barnes and Noble a few days after Easter and there were picture books galore on sale - many with Easter or spring themes. I didn't get any, but it's something to keep in mind. One of the seasonal sales I do normally take advantage of is Christmas sales. Normally after Jan. 1 Christmas books go on sale, so it's nice to keep an eye on that.
Combining tips 1 and 2, thrift stores/novelty stores/junk stores often have Christmas items on sale year round, except for the month between Thanksgiving and Christmas. For less than $2, I got these three books:
I've thoroughly enjoyed flipping through each of them. Christmas is sort of my thing, so it's rare that I don't buy a book like this if it's under $1. I'll often save up my change for a week and find that I've got around $5 and let myself buy books with it.
Pro-tip 3: Libraries are your friend
Many libraries have a little section near the door where you can buy books for 25 cents. I like to check this section out whenever I visit the library - if there's a book I think I'd enjoy or that brings a specific friend to mind, I'll get it. One more book for my own library.
Pro-tip 4: Keep an eye out
If you just like having books but you're not dead set on having a home library one day, then you don't really need to keep your eyes peeled. But if you genuinely want to have a lovely room with shelf-lined walls and you don't want to break bank buying all new books, you should keep your eyes open for inexpensive (or even free!) books. I worked at a school, so when the PTA was hosting a used book sale, I knew about it and bought around nine or ten books for $1. But if you're not lucky enough to work at a school (ahem), sales like this are often advertised in local papers and magazines. All you need to do is check. Garage sales also can be a place to find books for next to nothing. Sometimes Craigslist has ads for boxes of books for free. I usually skip over those because of my rule (I need to know the books will be used), but sometimes there are great books to be found.
Another thing I've done: Keep school textbooks. Now, I didn't keep every book I'd been assigned in school, but I kept the ones that are about interesting topics. I've got a bunch of philosophy, political science, and sociology books, plus a few on research and writing. I could have sold them, but usually used textbooks go for less than half (if that!) of the original price, so I don't really count it as a loss.
Those are pretty much the main ways I buy books. Right now I've got enough books to fit probably one wall of shelves, give or take. They're currently stored in two closets, and with all the moving I've had to do in the last two years, it's been a huge pain in the ass. But worth it! Totally worth it.
I like candles a lot. And candle holders. Which is why I was pumped when I was given this old not-so-great candle holder that was bought at a garage sale for something like $1.
It doesn't look too bad there (other than the foggy glass...) but it was dark and if you look closer, there were scratches all over it.
Sooooo I decided to brighten it up with some soap and water, a little paint, and a new candle:
The pictures don't really do it justice. The glass is sparkly clean, the blue is a little brighter than these pictures show (it's called Bahama Blue... wow fancy), and the candle is yellow.
My camera is perfectly fine. My picture-taking ability is not.
So yes. Solution to boredom and a new lovely candle holder.
We've lived in this apartment for about seven months, and I just got around to making coasters. For a while there I had been eyeing a few diy coaster projects but wasn't sure which I liked most. It came down to chalkboard coasters(as seen on The Sweetest Occasion) and map coasters (as seen on The Country Chic Cottage). Obviously, I went with the map coasters.
I read the directions from that website as well asthis website to get an idea of what I needed to do.
The thing is, I'm not the most patient of people.
So I decided spray adhesive was unnecessary. As was hot glue or super glue, since Mod Podge pretty much has the whole attaching-one-thing-to-another-thing job down. So I bought eight tiles (from Home Depot for a whopping total of $1.28), threw some Mod Podge on those bad boys, and tried semi-hard to center the map pieces on each one.
(Side note: math and counting centimeters and millimeters and tracing lines to have a perfectly even map square and then perfectly centering each square onto each tile didn't really sound like a ton of fun and guaranteed an extra hour, so I opted to just rip some pieces of map and somewhat center them on the tiles. I actually like the rough, torn look more than the even ones in those links, so everything worked out.)
After two coats of Mod Podge and then some of the acrylic spray, I was good to go. Also, you don't need perfect felt or cork on the tiles. Mod Podge-ing a square of felt on the back should work fine.
Moral of the story: Screw the long, arduous process that requires effort and just use Mod Podge for everything. It turns out just as lovely. They look great, they're smooth, and there's nary an air bubble of which to speak.
Enjoy an obnoxious amount of photographic evidence.